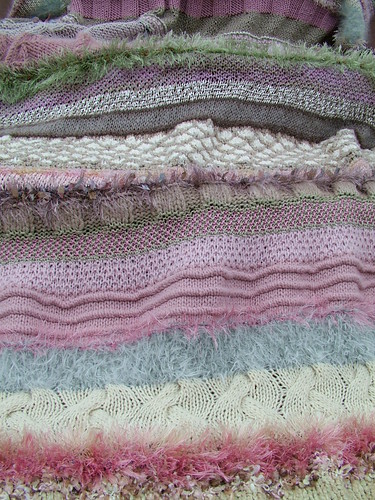
This year I am going to write a lot of knitting patterns, at least that is the goal. I wanted to make sure that I am organized before starting my pattern writing adventures. I know that it will be another unorganized year if I don't push myself through organizing first.
So..... I will document here what I am making and how, just in case anyone else wants to organize as well.

Today I will start with a fabric covered journal. I make them for keeping track of my projects, and handspun yarn. Next time I will be making a circular needle case. I will apologize in advance for the lack of photos this time around.. My camaras batteries were dying... I will have much more detailed photos of the needle cases. This is a very easy project though so don't worry.
Materials:

Three ring binder
Two types of fabric I bought 2 yards of each, so I have enough for matching needle cases.
Quilt Batting enough to cover the binder
Two Yards of trim
Scissors
Spray on adhesive
Hot glue gun/glue sticks
Thin poster board or cardboard
Iron
Unopened trash bags
Ruler
Pen or pencil
Preparing your fabric: Iron your fabric to remove any creases. Lay the fabric (for the outside of the binder) right side down on a flat surface, place your binder (open) on your fabric then cut your fabric 1 1/2" larger than the binder on each side. Lay your binder (open) on the quilt batting in the same manner, and cut batting 1" larger then binder on all sides. Measure the front cover of your 3 ring binder. Record these measurements, subtracting a 1/2" vertically and horizontally.

Covering your binder: Unfold, but don't open your trash bag. Lay it out flat in a well ventilated area. Lay your quilt batting on the center of your trash bag. Spray your spray adhesive on the surface of the quilt batting. Carefully lay your binder (closed) on the batting. Smooth the batting on your binder slowly removing any wrinkles that occur.

Fold the edges in, and smooth them on to the inside of the binder. Let your binder dry, then repeat this step for the fabric
Tip: For cleaner corners, after smoothing one side of the fabric to the inside of the binder, cut the fabric at an angle, and then smooth down the other side.

Preparing the inside fabric: Now take out your poster board, and the fabric for the inside of the binder. Lay the fabric right side down. Now lets prepare the poster board. Cut out two rectangles using the measurements you recorded earlier... Place one of them on your fabric and cut the fabric out leaving 3/4" of extra fabric on each side. Before cutting the other piece of fabric look at the inside of your binder. If the rings are connected to edge, without leaving much extra space, you can cut your other fabric to the same measurements of your other inside fabric.
Note: Some notebooks have a lot of space between where the rings attach to the folder, and the bend of the folder. In this case, I cut the fabric leaving 3/4" on three sides, and leave extra fabric on the remaining side, to accomidate this extra space.
Gluing the inside pieces: Glue the inside pieces around the poster board, turning in the edges as you did with the outside. Let them dry. Note: If you do have a binder with a lot of space between the bend and the rings, when you fold over the edges of the fabric, fold over three sides, the other side will adhere to the binder to cover the space left in that bend. The other piece will be covered normally with all four edges folded over the back of the poster board. Let these pieces dry.
Adhering the inner fabric: Spray the back side of the poster board with the spray adhesive, then center and stick them to the inside of the binder covers. Note if you have the binder with extra space, smooth the extra fabric in towards the center of the binder. trim the extra fabric and tuck the edge under the metal joining.
Finishing touches. Now hot glue on the trim :) Yea we are finished.
Further considerations may include page protectors, and business card sheets. Below are photos and a few notes on the records I keep.

I try to record my projects in detail.
For knitting, crochet, and tatting. I will include a photo of the finished project, the pattern source.. ex: the name of the book. If it was a downloaded pattern, I slide it in a page protector attached to the project photo. I include the yarn information, needle and hook sizes used, note any changes I made to the pattern, who I gave it to, and note how well I liked doing the project. As silly as this may sound, it is very useful. I often remember when someone asks me to make them something I have made before.. thinking I really didn't like doing it the first time.. but it couldn't have been that bad I finished it..... Then half way into the project I discover what I disliked about it in the first place. I know there are several "never again" items, I have been suckered into.
For Spinning: I record my fiber source, the colorway, fiber components, amount, whether it is a reproducable colorway, predrafting instuctions, ratio, plying info, and how much yardage I produced.. I also wrap a little fiber, a single, and my finished yarn around a cut up 3 x5 card and stick it to the page. I then slide this into a page protector. When I finish a project with it, I finish project page (like in the above section), and add a photo.

Ohh I like adding a page for business cards.. to be able to find my sources more easily:) Here is an example

I hope you can get some use out of this.
Enjoy :)


