Sunday, September 6, 2009

Mystery Knit Along #2 Designer Showcase

Thank you so much for joining this knit along with me. I also want to thank April for providing such a sweet and wonderful pattern. I hope you all enjoyed knitting it.

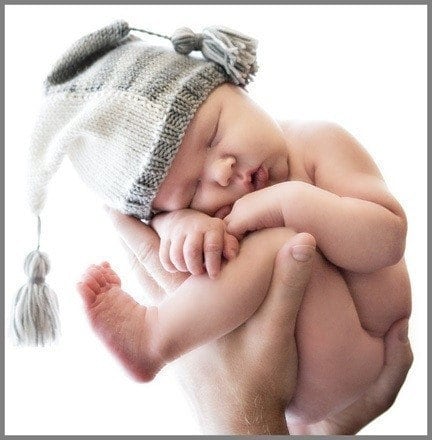
This cute little pattern was provided by April Lowe. Here is the one I made, with my little guy.

I am going to provide some of April's links, and then I will tell you more about her.

April has a couple of stores on Etsy. Lillebarn http://www.etsy.com/shop.php?user_id=5205516
and, Lillebarn Too
http://www.etsy.com/shop.php?user_id=6860556
Her blog is
www.lillebarn.blogspot.com

Lillebarn is Danish, it means unique and stylish handmade items for tiny babies and kids, including hats, blankets, stationery, wall art, onesies…


April has been knitting for 5 years. She is a self-taught knitter using books and patterns to figure things out. She had a hard time finding patterns for exactly what she was looking for. So April learned how to design her own patterns very early on. Then she decided to start selling her patterns because she couldn't keep up with her knitting Orders.

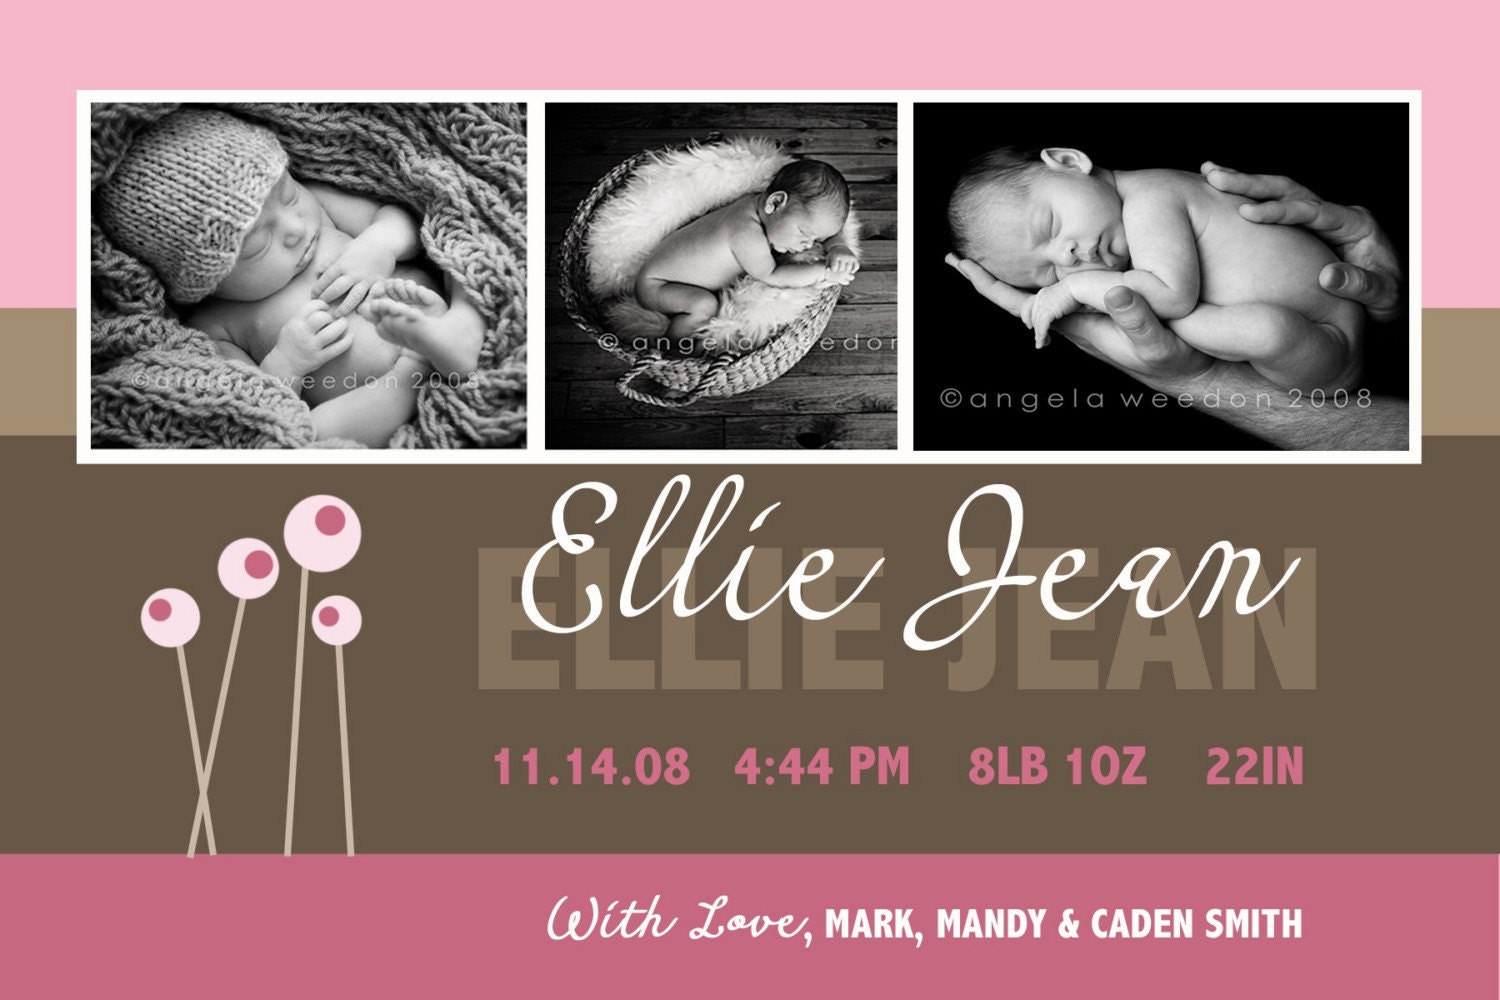
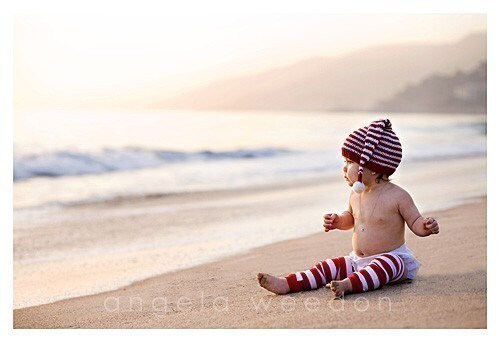
The three beautiful photos, are some of her products. The hat patterns are 4.50 each. The birth announcements cards are completely customizable.

April comes out with new patterns and products throughout the year, but especially at the start of each season. April is also going to offer us a 15% discount on a first purchase. All you have to do is enter mysteryknit in the notes to the seller, in Etsy check out.

April also enjoys photography, piano, SCUBA diving, traveling, cooking, and nutrition. She has two sons, ages 2 and 1.

April loves to design knits for her boys, and some of her friends baby girls. It gives her joy to be able to share the patterns she writes.

I did want to share something great about the pretty grey and white hat.... The pattern includes yarn suggestions, size variations from newborn to 4 years and up. I will probably be making one for Genevieve (my daughter) she is 8

Good night. I appreciate you all
Thank You again for joining me in this knit along.

Heather

Mystery Knit Along #2 Week #2

This pattern was provided by April Lowe. I will be sharing more about her in the designer showcase.

Here are the rest of our pattern instructions.

1. Using the long tail method, co 4 st
2. Knit across the top of the first ear flap
3. Using the backward loop method, co 7 st
4. Knit across the top of the second ear flap
5. Using backward loop method, co 3 st
6. Join round being careful that no stitches are twisted and work in garter stitch for 4
rows. When knitting in the round, make garter stitch by knitting one row and then
purling the next row. So for this part you will knit a round, purl a round, knit a round,
and then purl one more round.
7. Now knit every row (shows stockinette st when knitting in the round) until hat
measures 5 in from cast on edge.
8. Begin decrease sequence as follows:
1. *k5, k2tog, repeat from * to end of round
2. *k4, k2tog, repeat from * to end of round
3. *k3, k2tog, repeat from * to end of round
4. knit onto 3 dbl pointed needles as follows: needle 1; k 5st, needle 2; k 5 st, needle
3; k 6 st
5. *k2, k2tog, repeat from * to end of round
6. knit
7. *k1, k2tog, repeat from * to end of round. 8 st remain.

Cut yarn, leaving 8 in tail. Thread tail onto yarn needle and pull through remaining st.
Turn hat inside out and pull yarn through center of the top hole and pull to close tightly.
Tie knot at top of hat and weave in end.
Making up:
Weave in ends on ear flaps

Make 3 pom poms (approximately 2 to 3 inches) and attach to top of hat and bottom of 2
scarf ear flaps, weaving in ends. Pom pom can be left off the top of the hat if desired.
© April Lowe / Lillebarn 2007
To be used for PERSONAL USE ONLY. This pattern not to be used for resale of this
pattern or the finished knitted hat without written permission

Sunday, August 30, 2009

Mystery Knit Along #2 Week #1

Mystery Knit Along #2

This pattern is provided by another talented designer. Next Monday after giving the next instructions, I will share some beautiful photos of more designs she created.

YARN: Thick and Quick in color of
your choice or other yarn of the same
super bulky weight. You need 2 skeins
of yarn.
TOOLS: Size US 15 16” circular needles
Scissors
Yarn needle
Pom pom maker or something to
make pom poms
4 Size US 15 Double pointed needles
Sizes: 1-2 years

Using 2 of the double pointed needles, co 2
st and work in garter stitch.
1. knit into the front and back of the first stitch and knit 1 stitch (3 st)
2. knit all st (repeat for all even rows)
3. k in front and back of first st, k 1 st, knit in front and back of last stitch (5 st)
4. repeat row 2
5. repeat pattern of row 3, k in front and back of first and last st of this row (7 st)
K all rows (garter st) for 40 rows and leave on one dbl pointed needle and set aside.

Make one more of these and set aside.


I followed these instructions exactly. I made no allowances for using a size 13 needle.

Heather


Monday, August 17, 2009

Mystery crochet Along #1 Showcase


We just finished our first crochet along. The pattern's name is Bobby blue, and was shared with us by Amy. She is a designer that sells her patterns on Etsy. Amy's shop is called Melbangel Crafts. You can also find her on Ravelry as melbangel. Here is her store link. http://www.etsy.com/shop.php?user_id=87376


After telling you a bit about her, I will share my plans with these cute little guys we made these past two weeks... Very cool! Your kids will love them.

Amy has been crocheting for 6 years. She also enjoys knitting, making plush fabric, cross stitching, quilting, and plastic canvas.

Amy believes that crafting is a never ending learning process, and that passion
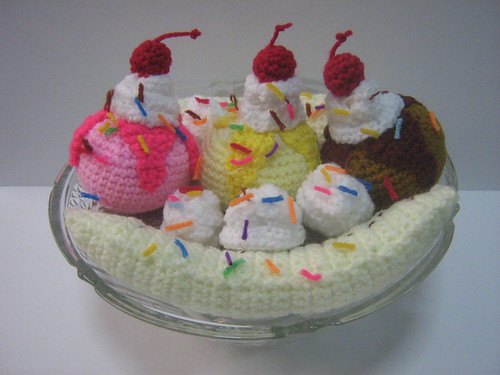
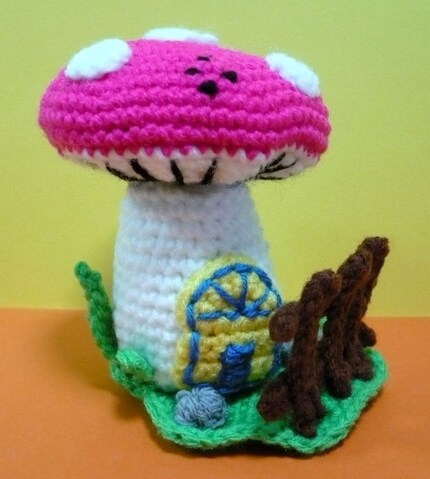
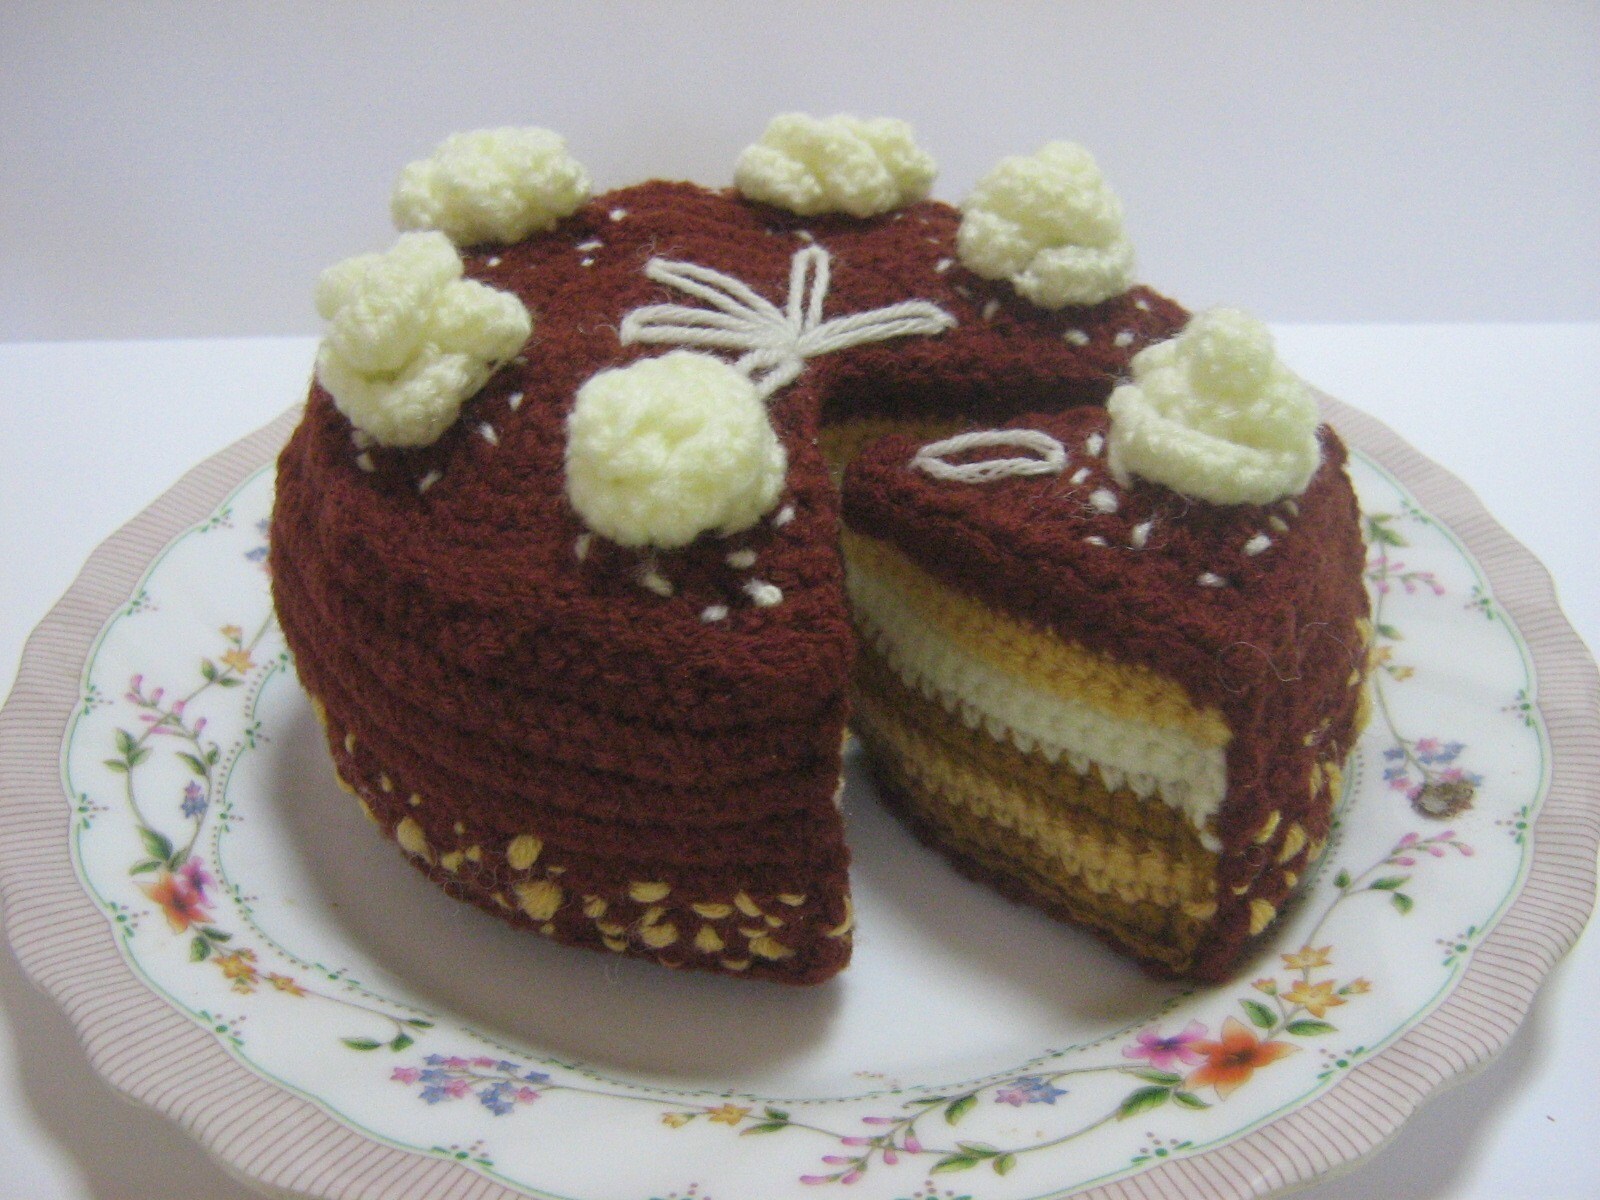
and patience are key. Amy has been designing for 3 years now. I have included some photos of some patterns she sells in her Etsy shop. Her patterns start at $2.50. There are 76 items for sale in her shop. My fave is the banana split. Just looking at it makes me hungry. ;) She has a great variety of fun stuff.

***Bobby Blue Remake. Do you remember that old carnival game where you try to knock over stuffed creatures with bean bags? This pattern is just perfect for that!!! But you can have sooo much fun with the different colors you can make them with to customize them.

I did them in two tone colors, but there are many options. You can make a little figure for each person in your family. You can make holiday ones. For Halloween make Frankenstien, a ghost, a jackolantern, or just in Halloween colors, etc... Christmas.. Make Frosty, Santa, or just red -white - and green combos. Or make this a fun thing to make and give a new one each holiday to add to the collection. Embroidery thread is stiff enough to be sturdy, has many colors, and will cost between $2-2.36 for each little guy. I am pretty busy but I do hope to make some holiday critters with the bobby blue pattern we just used. My little girl is horrified that I created little bean bags to knock them over, hopefully I can convince her to give it a try.. But she wants to use the mini bean bags as pillows for them to sit on.

I will put the patterns I wrote for the bean bags, in the page section of our raverly group.
http://www.ravelry.com/groups/cliodhna
Thank you so much for joining me again in this Mystery Crochet Along.

Heather

Sunday, August 16, 2009

Mystery Crochet Along Week 2

Welcome Back!!

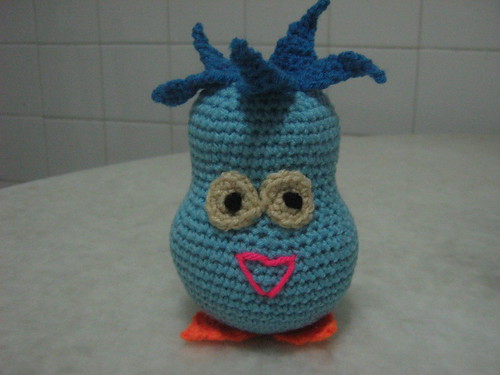
This week we finish this project. Before getting to the pattern, I wanted to share what I did differently. After finishing last weeks pattern, I made hair for these little guys. That is it. The original pattern includes crocheted feet, hair and eyes. The first photo is of the original pattern as written, then there are photos of the ones I made. There are great possibilities for these little guys. I will share what I am doing with them in the designer showcase for this project, I will also share some super cute ideas for other color possibilties.

Pointy Locks ( make 5 pieces)
With dark blue yarn and leaving a
length of yarn for sewing later, make 5
similar pieces as follows:
Working in rows,
Row 1 : Ch 5. Sc in 2nd ch from hook
and in each ch throughout. (4 sc). Ch1,
turn.
Row 2 & 3 : 4 sc. Ch1, turn.
Row 5 : [ dec 1 sc over next 2 sc]2
times. (2 sc). Ch 1, turn.
Row 6 & 7 : 2 sc. Ch 1, turn.
Row 8 : Dec 1 sc over next 2 sc. (1 sc).
Ch 1, turn.
Row 9 & 10 : 1 sc. Ch 1, turn. Fasten
off.
Thread the beginning length of yarn
through a tapestry needle and sew each
piece of lock around the circumference
of the dark blue patch on the top of the
head.

Feet ( make 2)
With orange yarn and leaving a length
of yarn for sewing later, make 2 similar
pieces as follows :
Working in rows,
Row 1 : Ch 7. Sc in 2nd ch from hook
and in each ch throughout. (6 sc). Ch1,
turn.
Row 2 : 6 sc. Ch1, turn.
Row 3 : [ dec 1 sc over next 2 sc]3
times. (3 sc). Ch 1, turn.
Row 4 : 3 sc. Ch 1, turn.
Row 5 : Dec to 1 sc. Fasten off.
Thread the beginning length of yarn
through a tapestry needle and sew each
foot to bottom of body, aligning them
next to each other. (Please see pics).

Eyes ( make 2)
With off-white yarn,
Rnd 1 : Ch 2. 6 sc in 2nd ch from hook.
( 6 sc)
Rnd 2 : Work 2 sc in each sc around.
(12 sc)
Sl st to beginning sc and fasten off,
leaving a length of yarn for sewing eye
onto face.
Sew 2 big french knots using black
yarn into the centre of the off-white
eye patches.
Finishing
Thread neon pink yarn through a
tapestry needle. Embroider a heartshaped
mouth (or any other shape that
you prefer) onto the face.
Sit back and enjoy the finished toy!!!
-

My hair is just short lengths of my yarn tied in. I also made mini pom poms and tied them onto a couple. I hope you enjoyed this project!! As always, contact me if any of this is unclear.
heather_n_wells@yahoo.com
Heather

Sunday, August 9, 2009

Mystery Crochet Along # 1

I am quite excited. This pattern has been generously donated to us by a wonderful designer on Etsy. I will tell you more about the designer at the close of this crochet along next week.

I wanted to say a few quick things before we get started. I am following today's portion the pattern exactly. I have decided to play with color for fun though. I will discuss any changes I have made at the bottom of the pattern. I will be discussing the places in the pattern where you see **
There are photos of this weeks work, at the end of this blog

*** Changing color properly in a Sc: insert hook into stitch indicated, yarn over pull up a loop, pick up your new color, and draw through the remaining two loops.

Materials **
· Acrylic Yarn (light blue, dark
blue, orange, black, neon pink
and off-white)
· Polyfill
· Tapestry/yarn needle
· Crochet hook (size needed for
your yarn type)
· A pair of scissors

Size
Height – 3.5 inches Width – 2.8
inches (Size will vary depending on
your crocheting tension and the type of
yarn used)
Things to Note
· This item is crocheted in the
rounds. Do not join rounds. Use
a scrap of different coloured
yarn to mark rounds.
· Work in loose ends as you
crochet along. Alternatively,
you can thread remaining end
of yarn onto a tapestry needle
and weave into the existing
stitches.

Abbreviations
Ch – chain
Sc – single crochet
Rnd – round
Inc – increase
Dec – decrease
Sl st – slip stitch

Instructions

Head/Body
**With light blue yarn,
Rnd 1 : Ch 2. 6 sc in 2nd ch from hook.
(6 sc)
Rnd 2 : Work 2 sc in each sc around.
(12 sc)
Rnd 3 : [ sc in next sc, 2 sc in next sc]6
times. (18 sc)
Rnd 4 : [ sc in next 2 sc, 2 sc in next
sc]6 times. (24 sc)
Rnd 5 : [ sc in next 3 sc, 2 sc in next
sc]6 times. (30 sc)
Rnd 6 : [ sc in next 4 sc, 2 sc in next
sc]6 times. (36 sc)
Rnd 7 : [ sc in next 5 sc, 2 sc in next
sc]6 times. (42 sc)
Rnd 8 : [ sc in next 6 sc, 2 sc in next
sc]6 times. (48 sc)
Rnd 9 to 16 : Sc in each sc around. (48
sc)

Now for the decreasing rounds.
Rnd 17 : [ sc in each of next 6 sc, dec
1 sc over next 2 sc]6 times. (42 sc)
Rnd 18 : [ sc in each of next 5 sc, dec 1
sc over next 2 sc]6 times. (36 sc)
Rnd 19 : [ sc in each of next 4 sc, dec 1
sc over next 2 sc]6 times. (30 sc)
Rnd 20 to 22 : Sc in each sc around.
(30 sc)

Now for the increasing rounds.
Rnd 23 : [ sc in next 4 sc, 2 sc in next
sc]6 times. (36 sc)
Rnd 24 : [ sc in next 5 sc, 2 sc in next
sc]6 times. (42 sc)
Rnd 25 to 28 : Sc in each sc around.
(42 sc)

Now for the decreasing rounds.
Rnd 29 : [ sc in each of next 5 sc, dec 1
sc over next 2 sc]6 times. (36 sc)
Rnd 30 : [ sc in each of next 4 sc, dec 1
sc over next 2 sc]6 times. (30 sc)
Rnd 31 : [ sc in each of next 3 sc, dec 1
sc over next 2 sc]6 times. (24 sc)

**At this point, change to dark blue yarn
and continue decreasing …
Rnd 32 : [ sc in each of next 2 sc, dec 1
sc over next 2 sc]6times. (18 sc)

**Stuff body/head with polyfill.
Rnd 33 : [sc in next sc, dec 1 sc over
next 2 sc]6 times. (12 sc)
Rnd 34 : [ Dec 1 sc over next 2 sc]6
times. (6 sc)
At the end of round 34, sl st in next sc
leaving a length of yarn, fasten off.
With tapestry needle, weave in
remaining length through sc of rnd 34,
pull to close opening, secure and fasten off.

My changes:
Feel free to follow the original pattern, or you can read below to replicate any of the changes I made.

Material changes:
4mm Safety eyes (instead of making them.. in next weeks)
Embroidery thread (makes them smaller)
Poly-pellets (to help them stand better)

Color changes:
*when changing colors carry yarn loosely.

Purple: I worked the pattern as is, but I alternated my light and dark yarn every three rows.

Aqua: After every Inc, I worked 2 stitches in the darker aqua. Then worked two rows of dark aqua after four rows of alternating colors. When Dec, work the two stitches after each Dec in the dark aqua.

Salmon: I aternated colors after every increase in the inc rows, and after every Dec in every dec row.

After the 33rd row that reads (3sc, dec) around, I stick in my safety eyes. I place them in the
row 28. At this point I also fill the bottom inch with pellets. Continue with pattern Instructions.

Sunday, August 2, 2009

Mystery Knit Along Wk 5

Here are are on the last week of our first knit along. I hope that you have enjoyed our first project. Now lets give your purse it's finishing touches.

I start by cutting 6"-7 1/2" inch lengths of my thickest, or darkest color ribbon. Using a yarn needle I will thread the ribbon then draw the yarn through a stitch 2-3 rows above the top of your main fur area. I then tie the ribbon just pulled through into a knot, as shown in the first photo.


I tie the other ribbon yarns to the row directly
below the top fur row.

*** Try tying in 2 together for added depth. Or tie in three rows if you have more ribbons.

If you have upholstery trim sew that on. Beaded trim can look amazing. In my cream purse I tied in two rows of two yarns each. Sewing a button on the outside can also be a nice touch. Sew on a purse handle to finished off your purse.

I personally like to sew in a fabric lining, and a snap on the side to keep the purse closed.

For sewing in the lining lay the purse on my fabric, and fold it over the purse. Cut the fabric leaving an inch more of fabric on each side. You will have one long piece of fabric. I fold the fabric in half again and sew up the sides (with the right side of the fabric inside). I fold the top of the fabric down an inch, and iron it to create a crease. I measure the width at the top of the purse. Then sew the fabric at an angle on both sides, and trim the sides of the fabric. I hand piece and sew the lining in by hand. I hope to see all your finished purses. By mid week I will post photos here of my cream bag. Also for every knit/crochet along we do I will be highlighting a store or designer. Sometimes the pattern will be provided by them. I will also post a photo of my very favorite item or two from that store, or designer.

Thank You sooo much for joining me in this knit along.
Heather